
Creating and Maintaining Users in Security
To access the Security area:
Navigator > User Security > User Maintenance

- You will have one or more Users in the system and each of these will have a User Name and a Password.
- The User Name typically may be set as first name and first letter of surname (for example, SueH or TimB), or can be a generic name such as Payroll.
- Note that Administrator is a predefined User Name which should not be changed.
If you log in as Administrator, no further security is applied. Similarly, if you give the Administrator role to a user, no further security is applied. - You link each User with an employee.

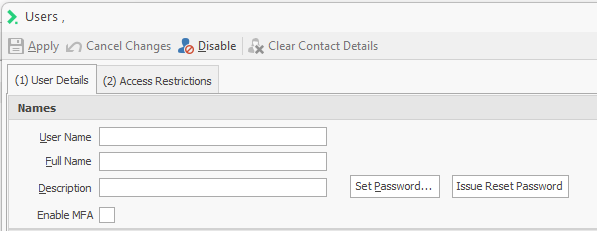
When you double click on a User Name in the list of Users, this opens a pane on the right.
This is where you set up the User details and apply the security settings.

Create a New User/Apply Security Settings
- In User Maintenance > Security highlight the Users node, then click
 in the pane on the right.
 - In the Names section on the User Details tab, identify the User Name, Full Name and Description (generally the position title) for the user, and tick Enable MFA (Multi Factor Authntication) if required.
- Click
 and specify the password for this User.
Note that you can click to display information about the strength of the password you're specifying.
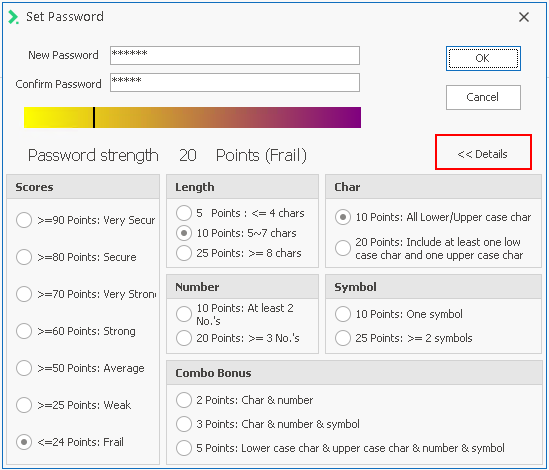
- In Copy Existing User you may copy the security settings of an existing user, and by default this is Administrator.
Alternatively, you may choose a different user (perhaps a previous incumbent): click the drop-down arrow to the right of Selected User and highlight the appropriate User Name.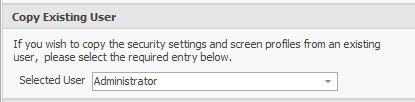
- Specify the Linked Employee for this new user. Click the drop-down arrow to the right of Employee and select the appropriate employee.
Alternatively, start typing the name in the Employee field - the search function will filter the names in order to locate the employee.
Disable Access for a User
It may be necessary to disable a user's access to the system if they are no longer employed by the company or have changed positions.
Disabling a user does not remove them from the system as their data may still be required in some instances.
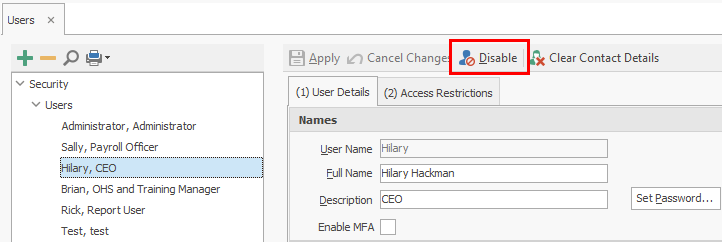
- Select Security | Users, and highlight the user on the left.
- On the right, click the Disable option.
If the user needs to be reinstated, or if this is done in error, simply repeat Step 1 then click Activate.
Note that the Activate button is available only when you have selected a user whose access has previously been disabled.

To Change the Linked Employee
- Select Security | Users, and highlight the user on the left.
- Click Clear Contact Details.
- Click on the drop down in the Employee field and select the new linked employee.

The next stage is to set Access Restrictions.
Issue Reset Password
Periodically you may find it appropriate to request that Users change their Ready Pay password.
Alternatively you may provide new users with a default password, and want them to specify a new password upon logging in to Ready Pay for the first time.
Click  to send a request to the User.
When they next log in to Ready Pay, this message will be displayed:

Once the User clicks OK, the Set Password window is displayed.
